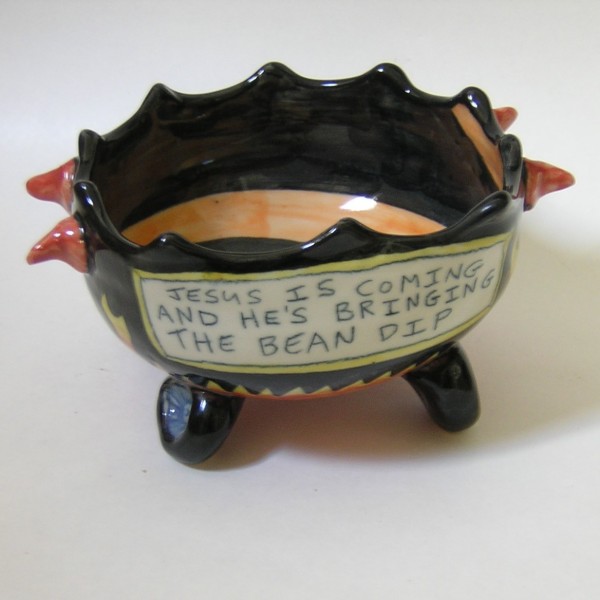
One of the most time-consuming and (unfortunately!) popular designs in my line right now is the “Jesus is coming and he’s bringing the bean dip” bowl. For the record, the wording on this item is intentionally cryptic and not meant to offend religious sensibilities in any way. The fact that this bowl got a bunch of nuns giggling at a craft fair gives me the confidence to shrug off critics who find it blasphemous or annoying. What annoys me about this bowl is how much time it takes to make a batch of them. The clay work and the decorating effort are both pretty intense. They are one of the pricier items in my line at $54.00, but if you check out the photos below, you will realize that you are getting your money’s worth when you buy this piece. I’ve always wondered how many separate steps it takes to make these pots, so last week we painstakingly photographed the entire process. This item is for sale, of course, at my online store.
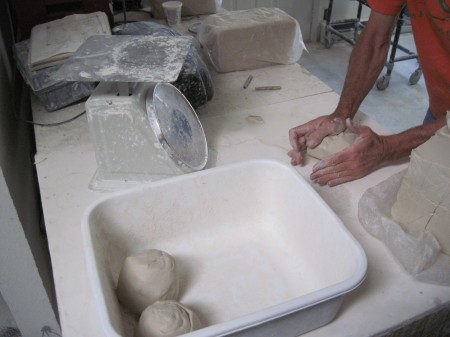
Step 1: Weighing and wedging the clay.
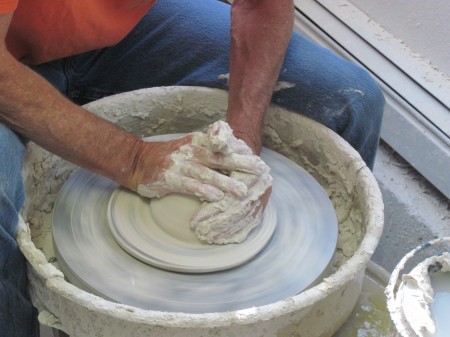
Step 2: Centering on the wheel.
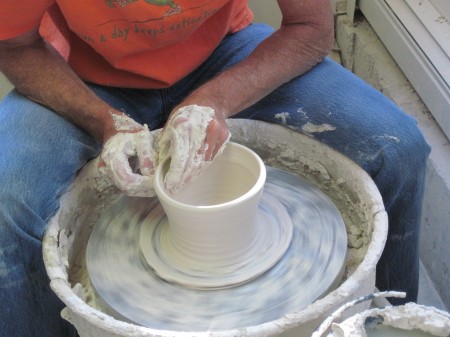
Step 3: Pulling up the clay.
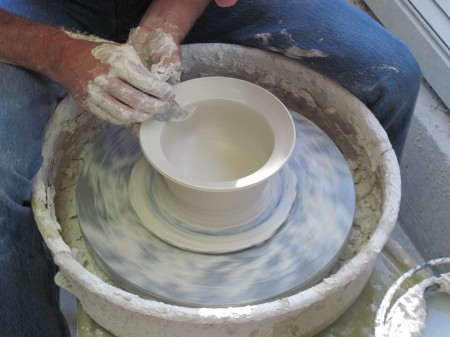
Step 4: Flattening out the rim with a flexible aluminum rib.
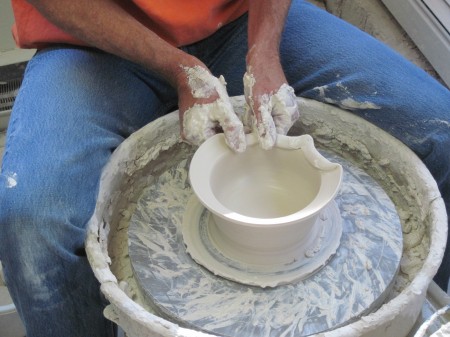
Step 5: Folding the rim.
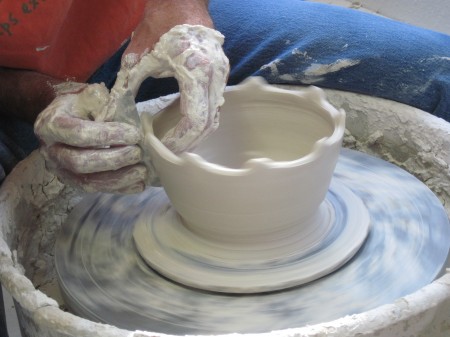
Step 6: Smoothing the outside.
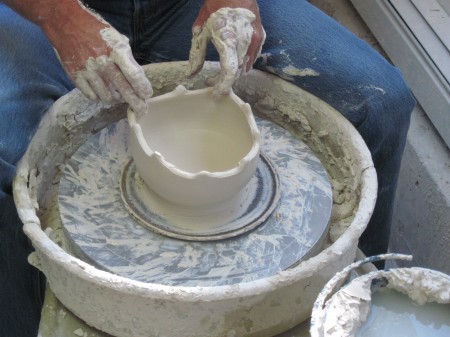
Step 7: Bending the back of the bowl.
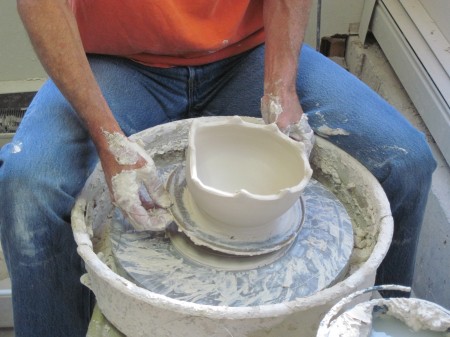
Step 8: Cutting the bowl off of the bat (round wooden disk).
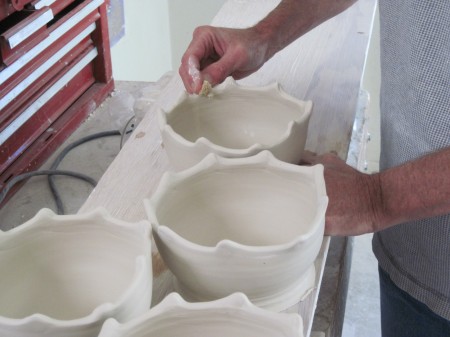
Step 9: After the pots have dried overnight to a leather hard state, the rims are smoothed with a sponge.
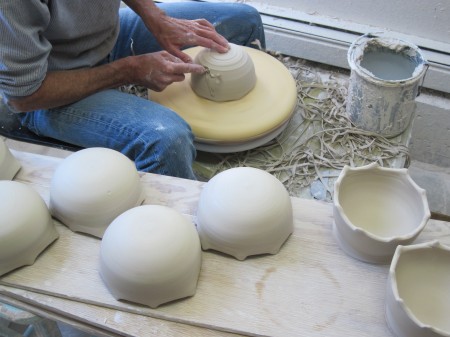
Step 10: Trimming on the wheel.
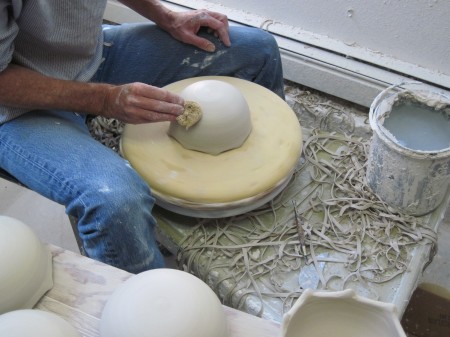
Step 11: Smoothing with a sponge and an aluminum rib.
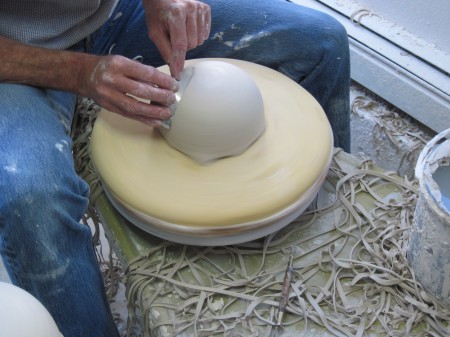
Step 11: Smoothing with a sponge and an aluminum rib.
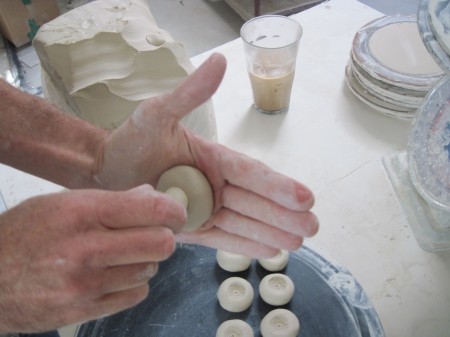
Step 12: Handbuilding the wheels.
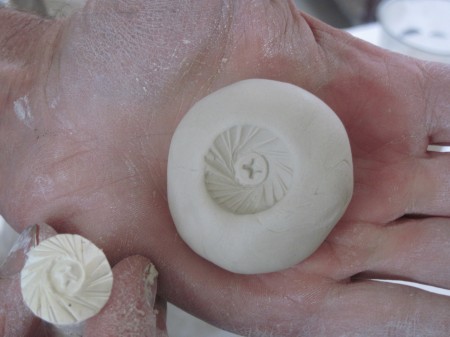
Step 12: A bisque tool is used to make the "hubcaps".
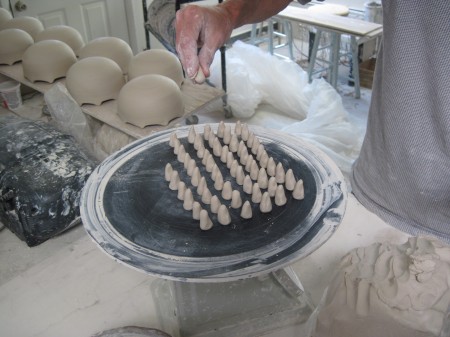
Step 13: Handbuilding the spikes.
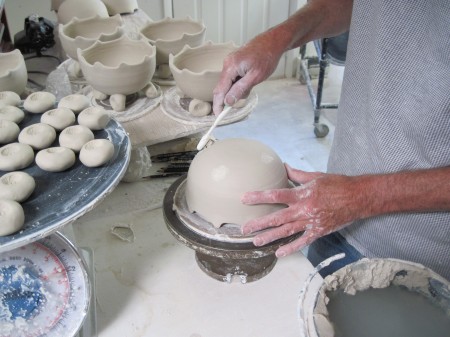
Step 14: Attaching the wheels. Putting slip (wet clay) on with a toothbrush.
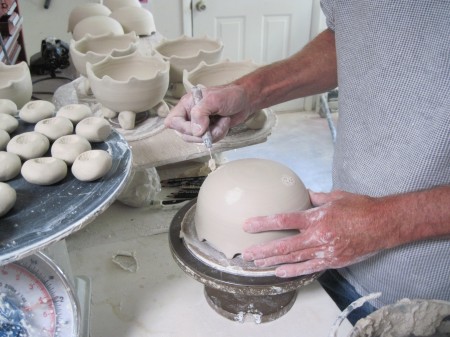
Step 14: Attaching the wheels. Scoring the underside with a needle tool.
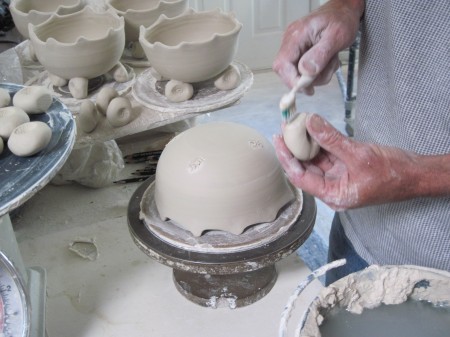
Step 14: Attaching the wheels. Slipping and scoring the wheels.
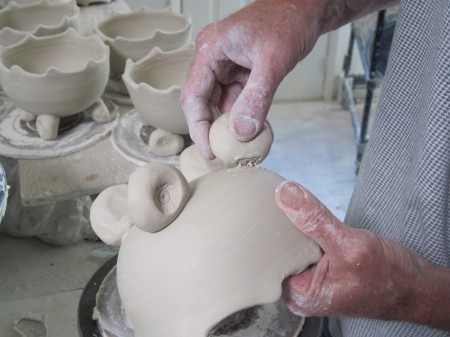
Step 14: Attaching the wheels.
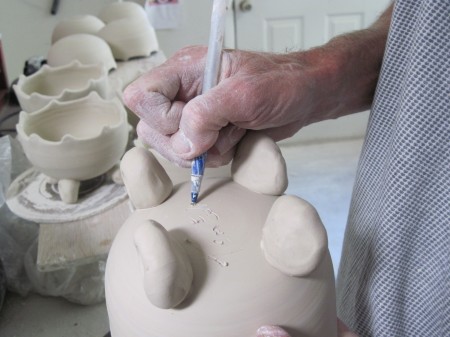
Step 15: Signing the underside.
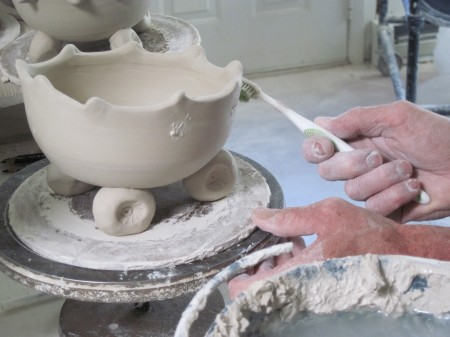
Step 16: Attaching the spikes. Putting slip where the spikes will go.
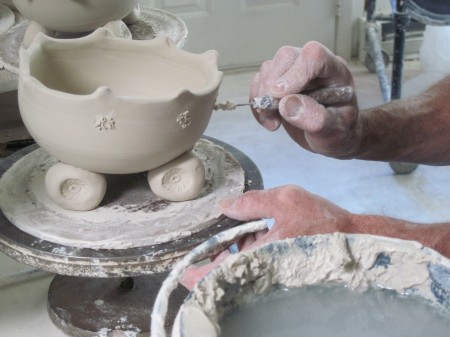
Step 16: Attaching the spikes. Scoring the bowl where the spikes will go.
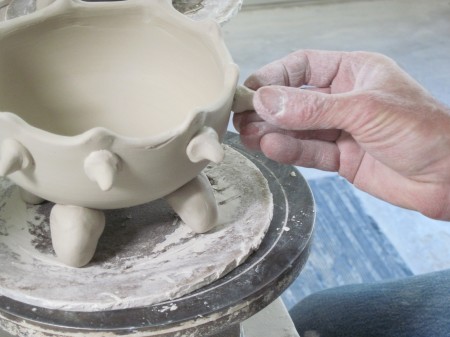
Step 16: Attaching the spikes. To secure the spike, it helps to twist it a little bit when you press it on.
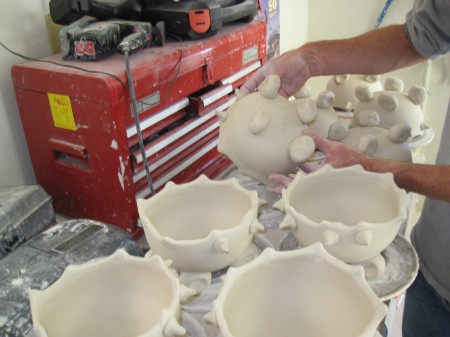
Step 17: After the bowls dry a little bit, they are flipped over so the wheels won't crack as they dry and shrink.
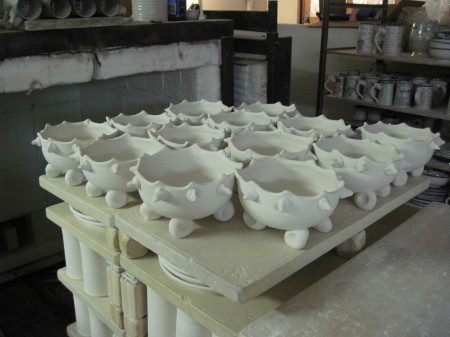
Step 18: Loading the pots into the bisque firing (1800 degrees F).
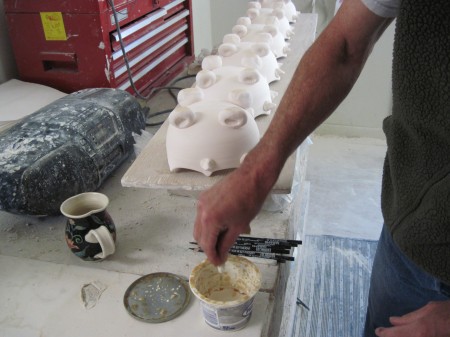
Step 19: Applying wax resist to the wheels.
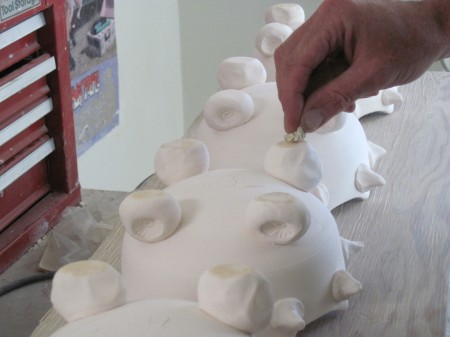
Step 19: Applying wax resist to the wheels.
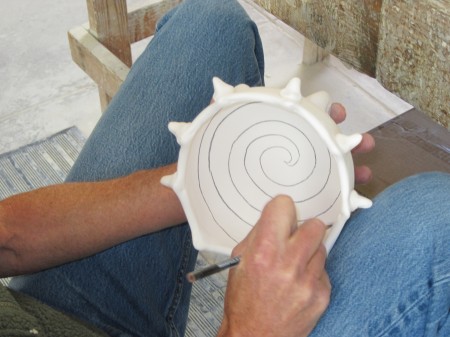
Step 20: Drawing the spiral on the inside of the bowl with a black underglaze pencil.
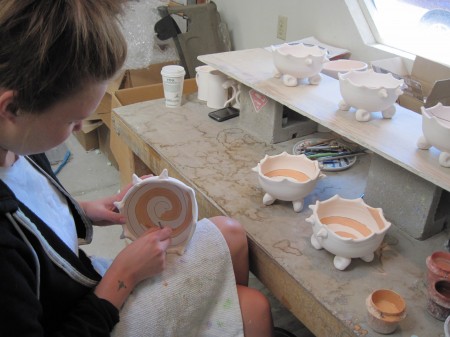
Step 21: Painting the inside of the bowl (orange underglaze).
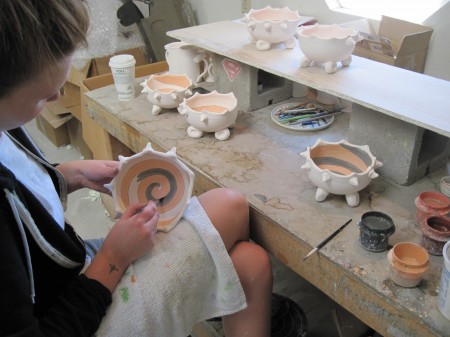
Step 21: Painting the inside of the bowl (black underglaze).
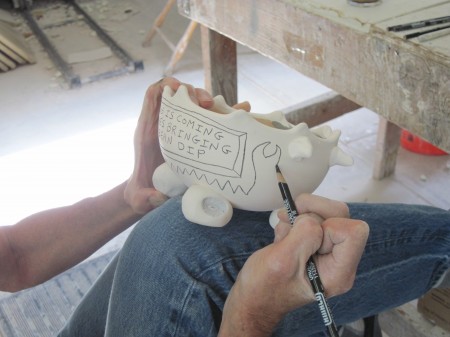
Step 22: Drawing the decoration on the outside of the bowl.
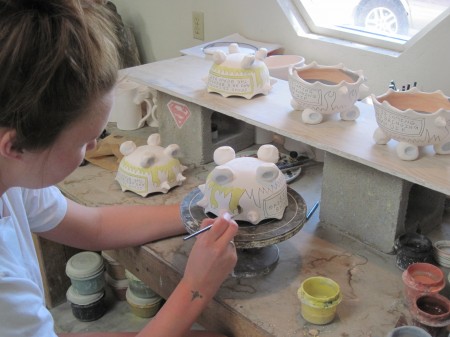
Step 23: Painting the outside of the bowl (yellow underglaze).
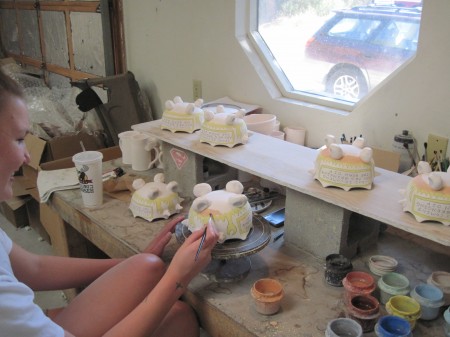
Step 23: Painting the outside of the bowl (orange underglaze).
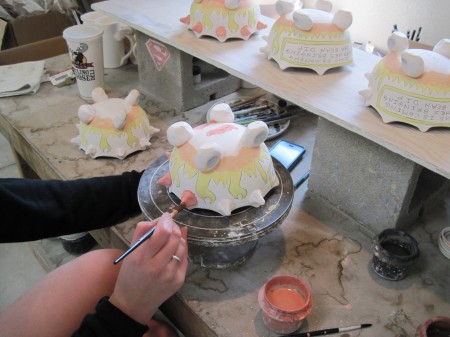
Step 23: Painting the outside of the bowl (red underglaze).
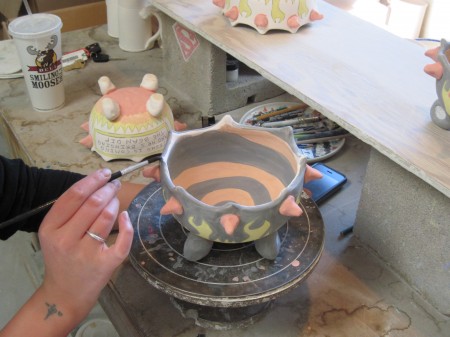
Step 23: Painting the outside of the bowl (black underglaze).
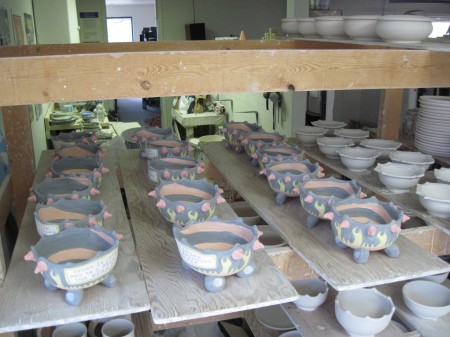
Jesus bowls waiting to be baptized in the holy glaze.
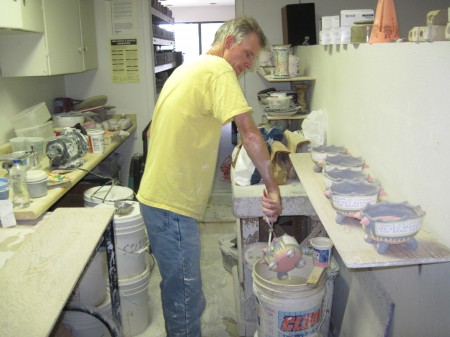
Step 24: Dipping the bowls in the glaze.
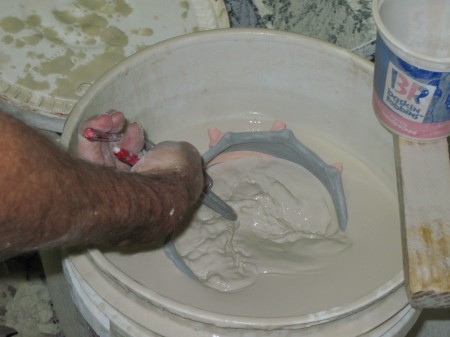
Step 24: Dipping the bowls in the glaze.
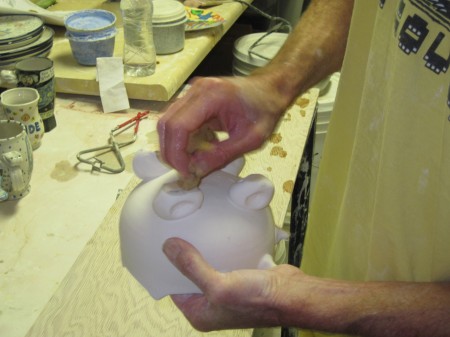
Step 25: Cleaning the glaze off of the bottoms of the wheels.
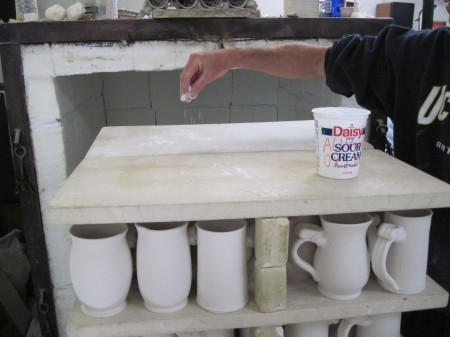
Step 26: Loading the glaze kiln. Alumina oxide is sprinkled on the kiln shelves to prevent the wheels from sticking to the shelves.
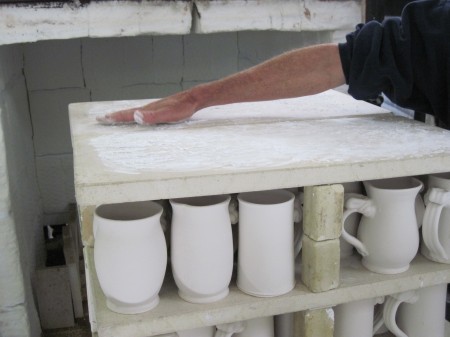
Step 26: Loading the glaze kiln. Alumina oxide is sprinkled on the kiln shelves to prevent the wheels from sticking to the shelves.
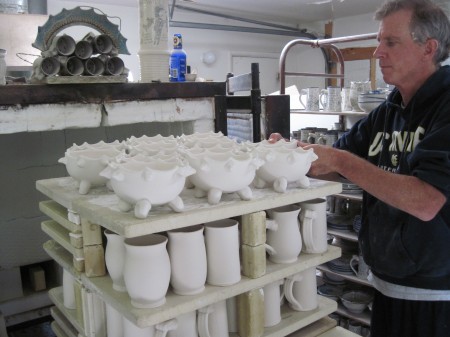
Step 26: Loading the kiln.
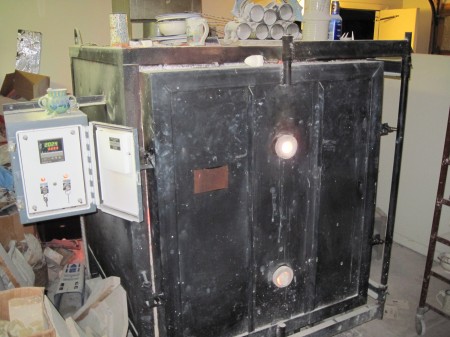
Step 27: Firing the kiln to cone 10 (2300 degrees F).
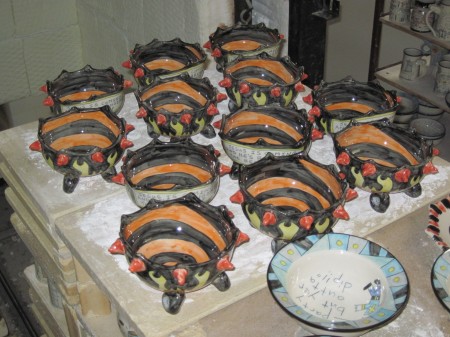
Step 28: After one day of firing, and two days of cooling, the kiln is ready to be unloaded.


Wow! Now I appreciate my Jesus Bowl even more than before.
Hey! This is way cool! I never really understood what a lot of WORK went into this. Thanks for sharing your art, skills and humor!
Loved seeing the process! I am truly wowed by all that it takes to create your magic. Thanks for sharing!
Uh oh– what if we all can make these bowls on wheels with spikes now? No worries here- I still want to have the 28 steps done by Tom Edwards (and company) himself! What a treat to see the Behind the Scenes- how much time has elapsed for this process?
Hey Martha! You all could always make these bowls by yourself. Just click your heels together and say, “There’s no place like the potter’s studio….” To answer your question, it was about a two week span of time to get all these photos to show the whole process. it was a fun process and I’ll probably do it again with another item in the future. Thanks for your comment and all the others!